You will want a wide-angle lens 35mm and below. A wide-angle lens is great for landscape photography as it captures a larger field of view. Wide lenses have wider perspectives and therefore capture more of the scene than a telephoto or 50mm, which are good at focusing on one specific subject. Landscape photographers typically use ultra-wide angles (less than 24mm). Please don’t discount the use of a long focal length lens for Landscape photography, though. A photographer might use a long focal length lens to isolate scenery by zooming in on one particular subject or object within the scene.
The most important piece of gear for landscape photography is an appropriate camera and lens combination that suits your style - don’t purchase too much equipment before you have lots of experience.
Landscape Photography Camera Settings
In order to capture beautiful scenery, beginner landscape photographers should first start by setting their camera’s settings. We all use different camera settings for different scenarios and different times of the day.
Aperture is the main settings used to control depth-of-field. It can also be used for creative purposes, such as blurring items in a photo and keeping others sharp - even within the same shot! The range that you select depends on your desired effect: if it’s about making everything stand out or just having some parts more focused than others; how blurry do you want the background? By starting with an aperture setting around f/8 (or 15), we can balance between these two goals. If this doesn’t meet our needs, then consider increasing your aperture to f18-f22 which will give us more focus throughout the scene.
Shutter speed is a key variable in photography, and it’s also typically involves experimentation. If you want the clouds to be still or if you are trying to capture something that does not move often like trees or mountains then use 1/60th or higher. However, for that perfect silky waterfall look, your camera needs slower shutter speeds such as 1/4 seconds or less.
ISO You will want to keep the ISO as low as possible, so go for an ISO of anything between 100 and 400. If you’re shooting in low light, an ISO of 800 and beyond may be necessary. Just be aware that a higher ISO can mean more noise in your photo. Monitor those shadow areas.
RAW files preserve all image information. They are akin to digital film because they capture higher quality images than JPEGs do, which compress the file size and lose data in doing so. RAW photos provide a level of flexibility that JPG do not. By using RAW format for photographing landscapes, you will be able to make finer adjustments in post. Colour enhancements, white balance corrections or other necessary changes,to get exactly what you want out of every photo without loss in aesthetics or detail from compression issues like those found within JPEG formats."
Landscape Photography Composition Techniques
The best photography tip you’ll get is pay attention to image composition. A photo can change drastically when photographed from a slightly different angle or vantage point, it’s important that your viewers engage with your images. Thankfully, there’s a few compositional techniques and rules for photographers that help ensure they get an interesting shot every time!
Photographers are guilty of taking a poor photo every once in a while. Whether it’s blurry, out-of-focus or just plain uninteresting to look at, we’ve all been there! The good news is these common problems can be fixed with some simple techniques and adjustments on your camera settings before you take the next shot.
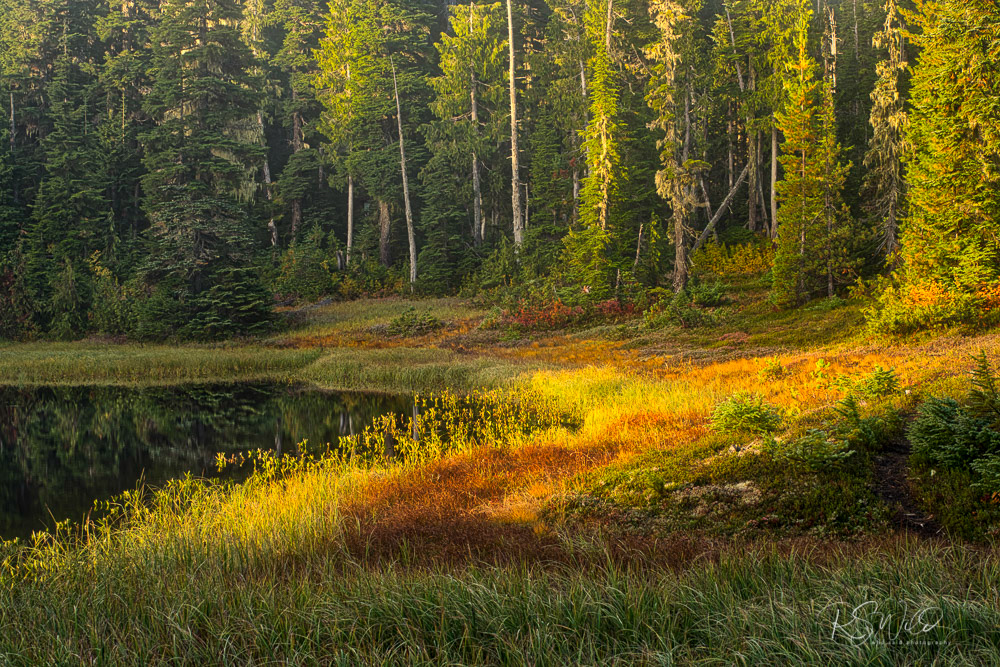
There are several techniques that can help you take better pictures. For example, the Rule of Thirds is used to dividing your photo into thirds horizontally and vertically, and by placing your subject on one of intersections it has more balance look and feel. Simplification involves taking out any unneeded details in an image or scene for simplicity’s sake while leading lines provide visual interest in directing attention through images with strong compositions such as symmetry and asymmetry.
Be Aware Of What You Don’t Want In Your Frame. You should always know their surroundings and make sure they don’t end up with unwanted objects in the frame. This is done to avoid distractions like power lines, people or any other object that can take away from your photo’s subject.
It can become easy for us to get caught up in the moment, so much so we forget what may not look good in the photograph. Be mindful try hard not to have things such as power lines or tree branches poking in from the edge of the frame. Watch for people of man-made objects that can detract from the original intent of the photo.
The Best Times To Get Outdoors and Take Pictures
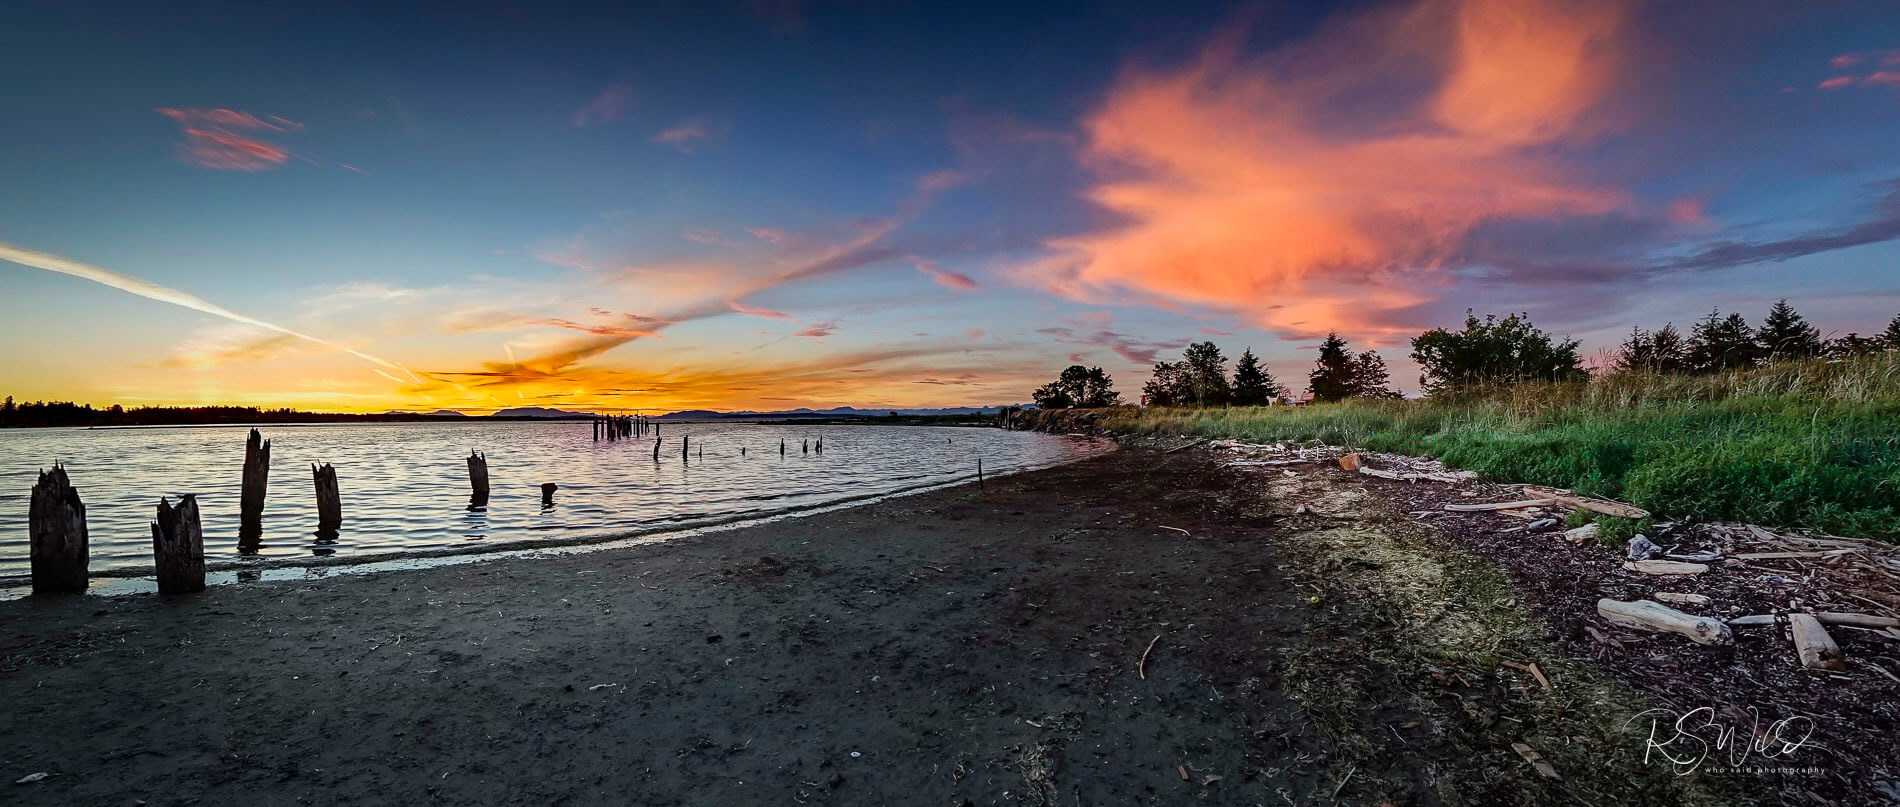
It is possible to take great landscape pictures just about anytime, but the best time of day for capturing landscapes is sunrise, sunset and the blue-hour.
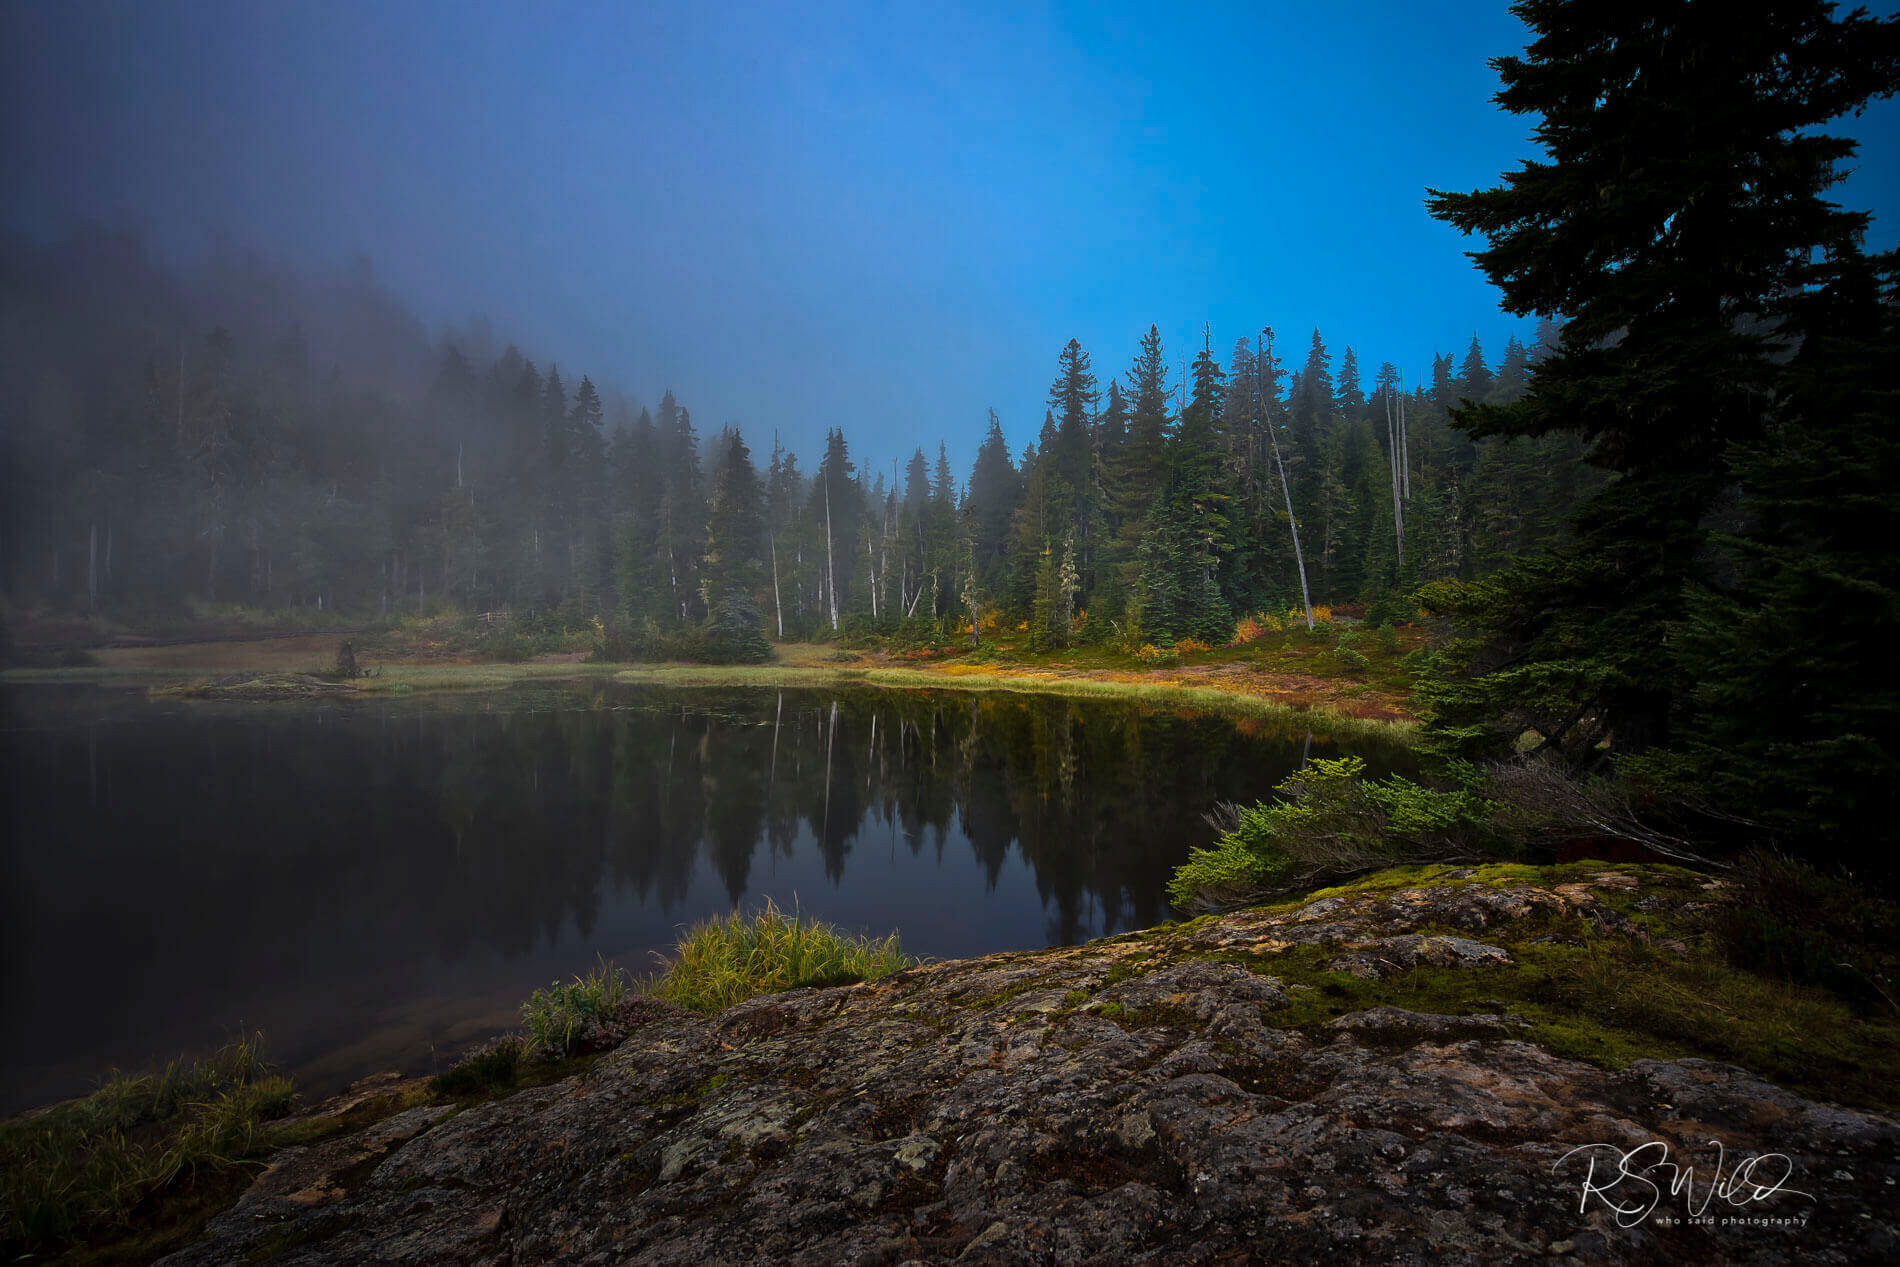
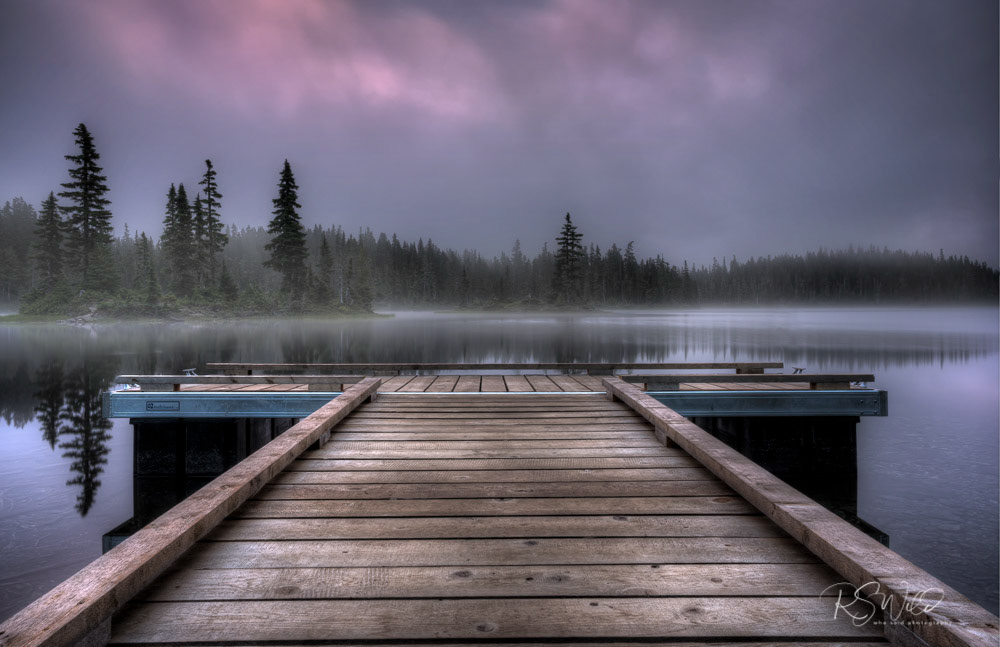
Shooting in foul weather can create a sense of drama that is hard to find on sunny days. Fog, rain and snow are all great for adding atmosphere to your photos which you might not get otherwise. So don’t confine yourself to just shooting during the best conditions it is often worth taking risks if there’s an opportunity for dramatic photos!
Landscape Photography Composition Techniques
The best professional photography tip you’ll get is to pay attention to image composition. A photo can change drastically when photographed from a slightly different angle or vantage point, it’s important that your viewers are engaged with your images. Thankfully, there’s a few compositional techniques and rules for photographers out there that help ensure they get an interesting shot every time!
Even the best photographers are guilty of taking a bad photo every once in a while. Whether it’s blurry, out-of-focus or just plain uninteresting to look at we’ve all been there! The good news is that these common problems can be fixed with some simple techniques and adjustments on your camera settings before you take the next shot.
There are several techniques that can help you take better pictures. For example, the Rule of Thirds is used to divide your photo into thirds horizontally and vertically, and by placing your primary subject on one of the intersections it has more balance.
Simplification involves taking out any unneeded details in an image or scene for simplicity’s sake while leading lines provide visual interest in directing attention through images with strong compositions such as symmetry and asymmetry.
The Best Times To Get Outdoors and Take Pictures
It is possible to take great landscape pictures at anytime, but the best time of day for capturing landscapes is sunrise, sunset and the blue-hour.
Shooting in foul weather can create a sense of drama that is hard to find on sunny days. Fog, rain and snow are all great for adding atmosphere to your photos which you might not get otherwise. So don’t confine yourself to just shooting during the best conditions- it’s often worth taking some risks if there’s an opportunity for dramatic photos!
How To Plan A Landscape Photography Photo Shoot
It’s difficult to wake up and go out into the cold, wet world. If you’re looking for a perfect landscape photo then it’s important you know the weather conditions. Storms give us beautiful skies filled with lightening or clouds rolling across an otherwise clear sky. It’s these times when photography gets interesting. Make sure your camera is fully charged before venturing outside!
The Photo Ephemeri app is a lifesaver for photographers looking to take advantage of sunrises and sunset. The ability to see the angle, time, location or moon positions on any day can help you plan your shoot with confidence.
Do your research, by analyzing other photographers’ images of a location, you can save yourself hours of mucking around searching for great photos locations. If you’re visiting an unfamiliar place, try googling it and looking through the pictures of the area.